Configuring CloudBharat On ZoiPer – Android
1. Download the Free ZoiPer softphone app from the Google Play Store.
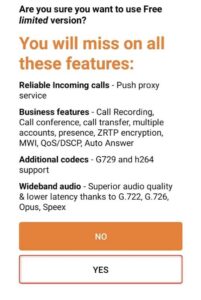
2. Open the app > Agree & Continue > Skip > Yes to free limited (ZoiPer) version.


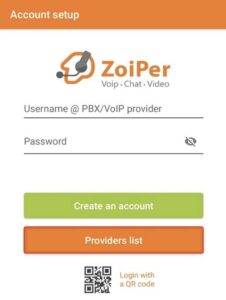
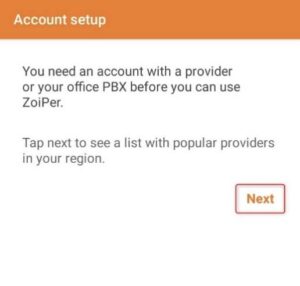
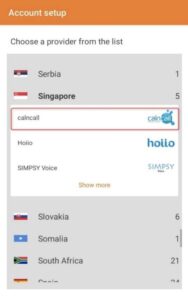
3. Tap “Provider list” > Next > Select “Cloudbharat” under India.
4. Select “Get configuration”.
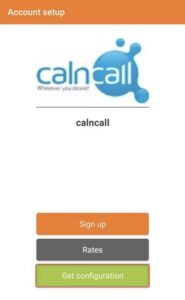
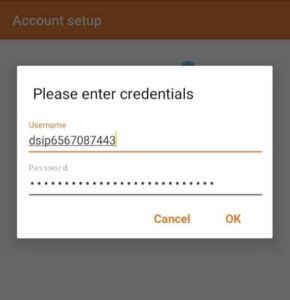
5. Enter the following information which is provided by CloudBharat, then tap “OK”.
User name: < sip username > (e.g., Dsip65XXXXXXXX)
Password: < sip password > (e.g., XXXXXXXXXXXX)
6. After pressing “OK,” you will be prompted to “allow” ZoiPer to make and manage phone calls and for ZoiPer to stay connected in the background.
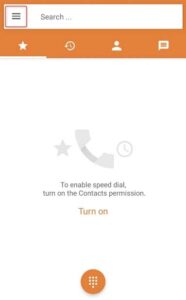
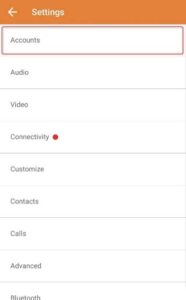
7. Go to Menu on the top left corner > Settings > Accounts.
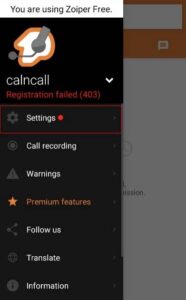
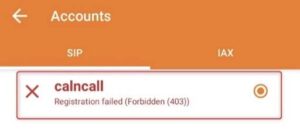
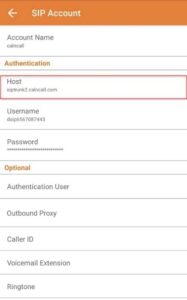
8. If you see “Registration failed”, tap in and edit the Host name provided by CloudBharat.
Host: < sip server > (e.g., siptrunk.calncall.com)
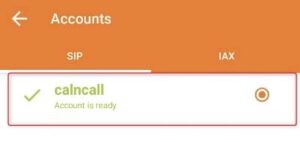
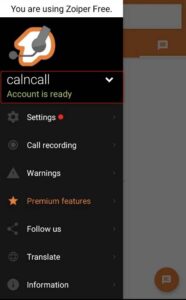
9. The registration is successful when you see below images on the app:
** Please check the welcome email sent by our team for the dial plan details.
Dial Plan:
Singapore Calls: Dial the 8 digit number
Overseas Calls: 00 + < country code > + < area code > + < destination >
For example, to call a China number with the country code 86, enter: 00-44-XXXXXXXXXX.
