Auto-Provisioning Yealink IP Phones With CloudBharat - User Guide
There are two ways to auto-provision Yealink (SIP-T20P & SIP-T21P) with CloudBharat.
1. From the Phone:
Step 1: First you will need to factory reset the phone.
Press & hold the “ok” button till the phone prompts the message “Reset to factory?” and press “ok” again to reboot.
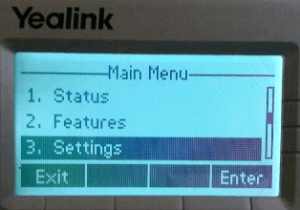
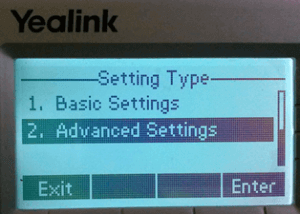
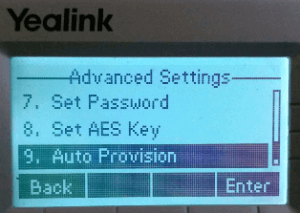
Step 2: Go to Advanced settings on the phone.
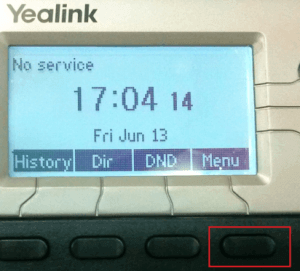
Press ‘Menu’ button and then select settings –> Advanced settings
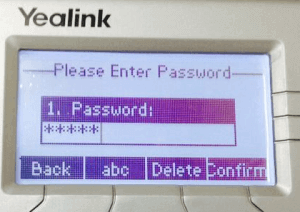
Step 3: Enter the default password “admin” and press confirm
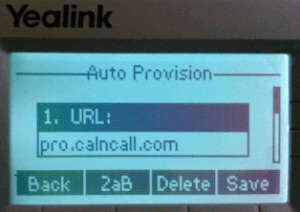
Step 4: Select “Auto Provision” and Enter “pro.cloudbharat.com” then save and reboot.
2. From the Web Interface
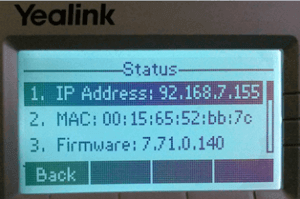
Step 1: Press “ok” button on the phone then you will see IP address Ex. 192.168.xxx.xxx.
Step 2: Enter the IP address on browser (Firefox or Chrome). Both the IP phone & computer should be connected to the same LAN.
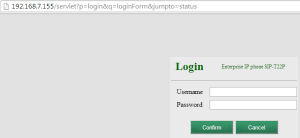
Step 3: Enter the default Username & Password
Username: admin
Password: admin
Step 4: Go to Settings –> Auto Provision –> Enter provision server URL : pro.cloudbharat.com
Then Click “Autoprovision Now”
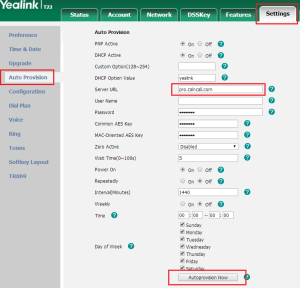
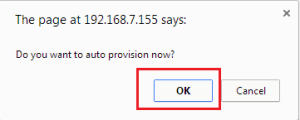
Step 5: Click ‘Ok’ then IP Phone will reboot and is now ready to use.
