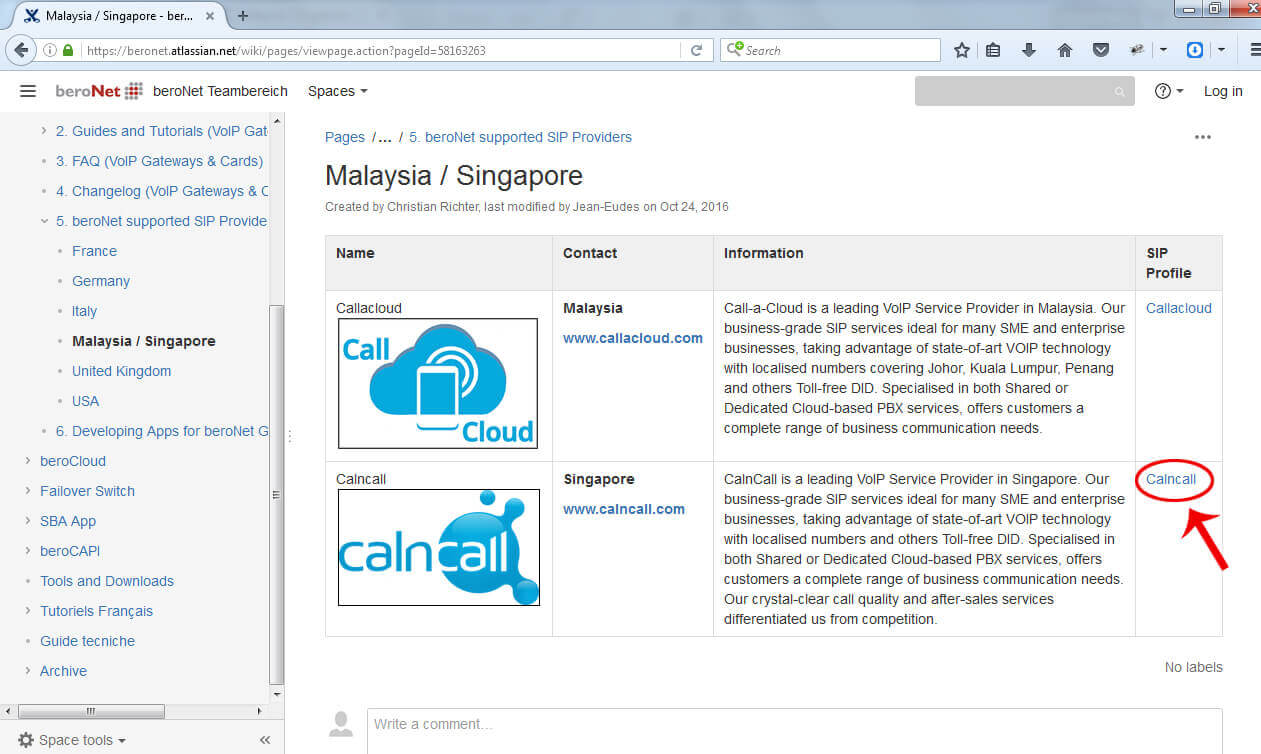
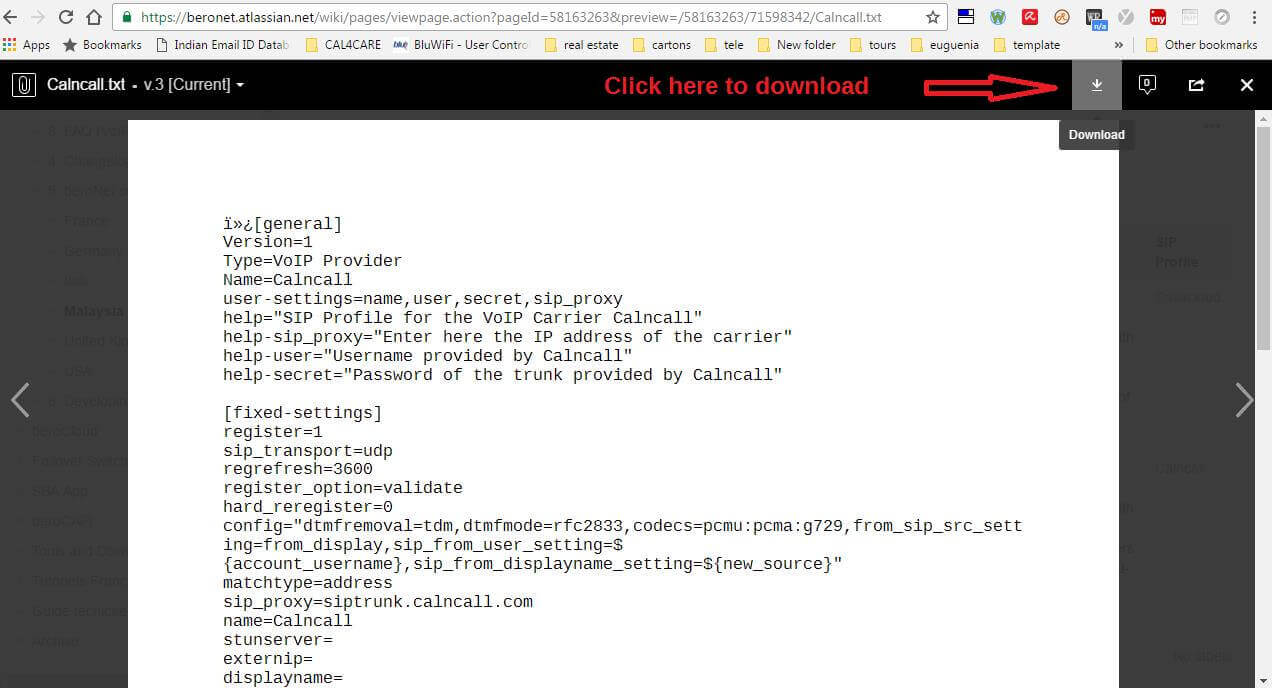
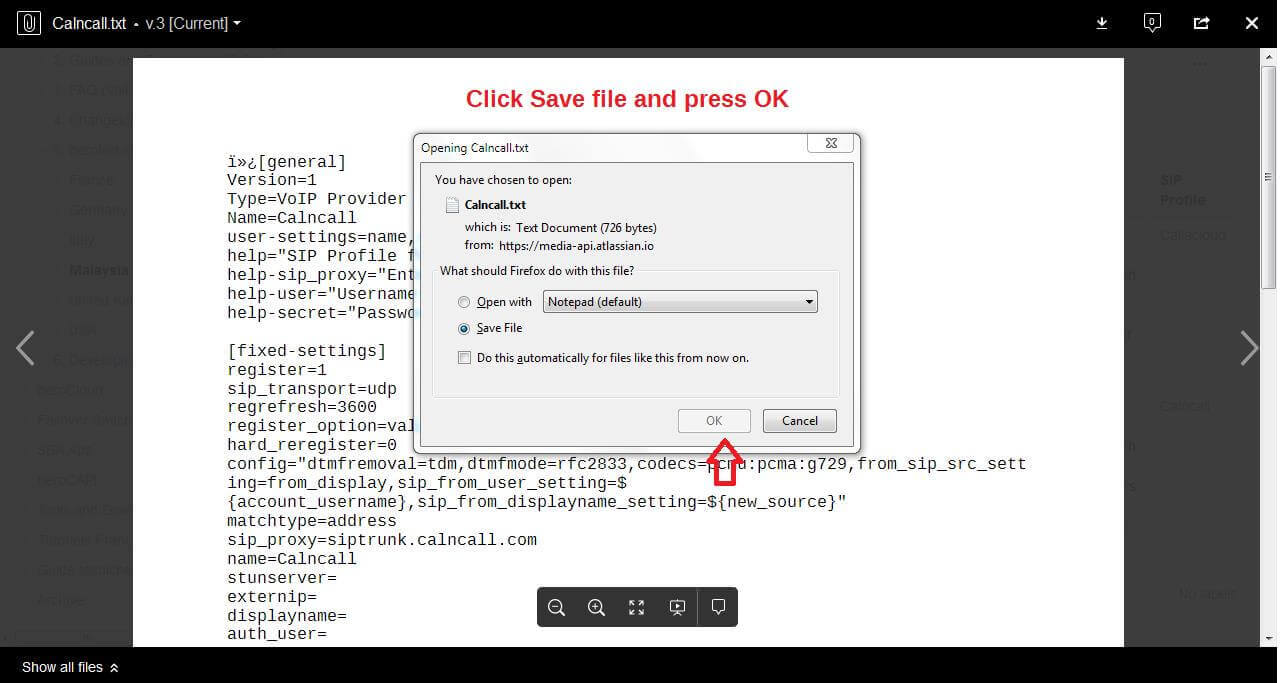
Step 1: Click below link to download CloudBharat SIP profile:
https://beronet.atlassian.net/wiki/pages/viewpage.action?pageId=58163263
Step 2:
Step 3:
Step 4:
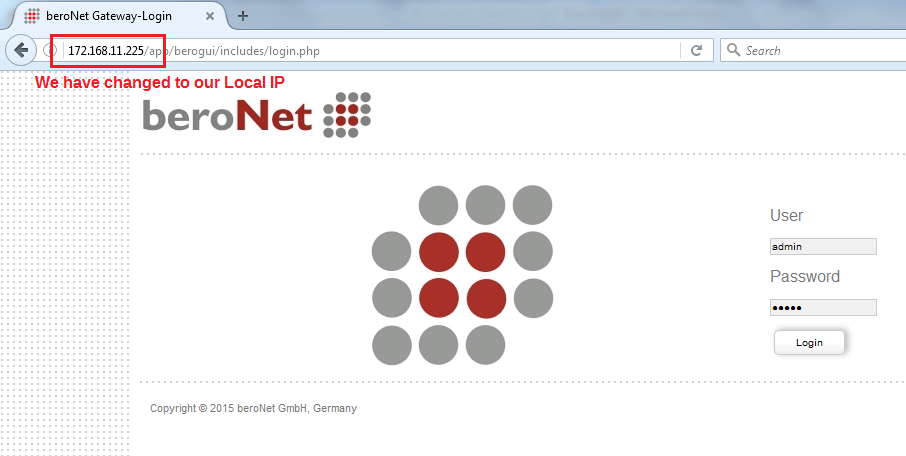
Please login into beroNet Gateway
Default IP: 10.0.0.2
Username: admin
Password: admin
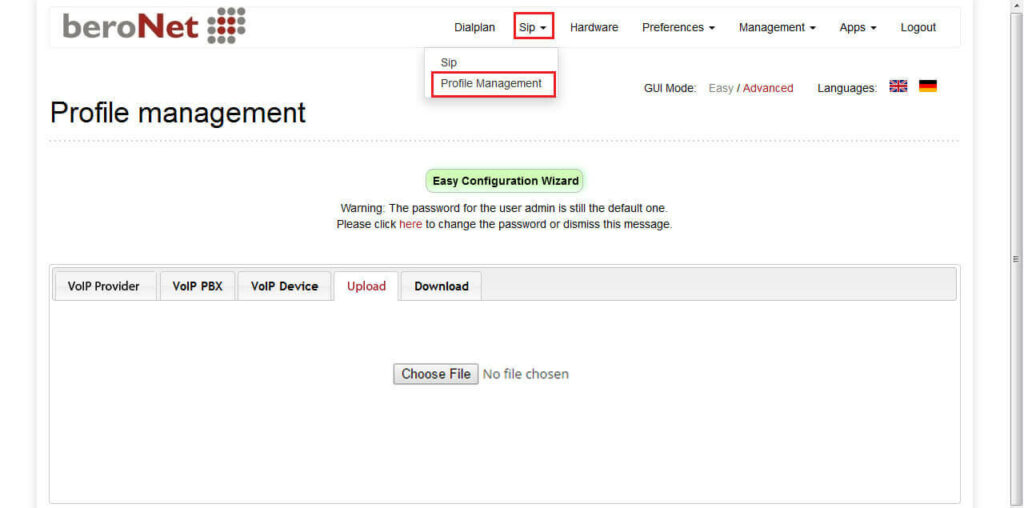
Step 5: We must need firmware 16.x to upload the CloudBharat SIP Profile.
We have to upload the CloudBharat SIP profile under SIP profile management as shown below.
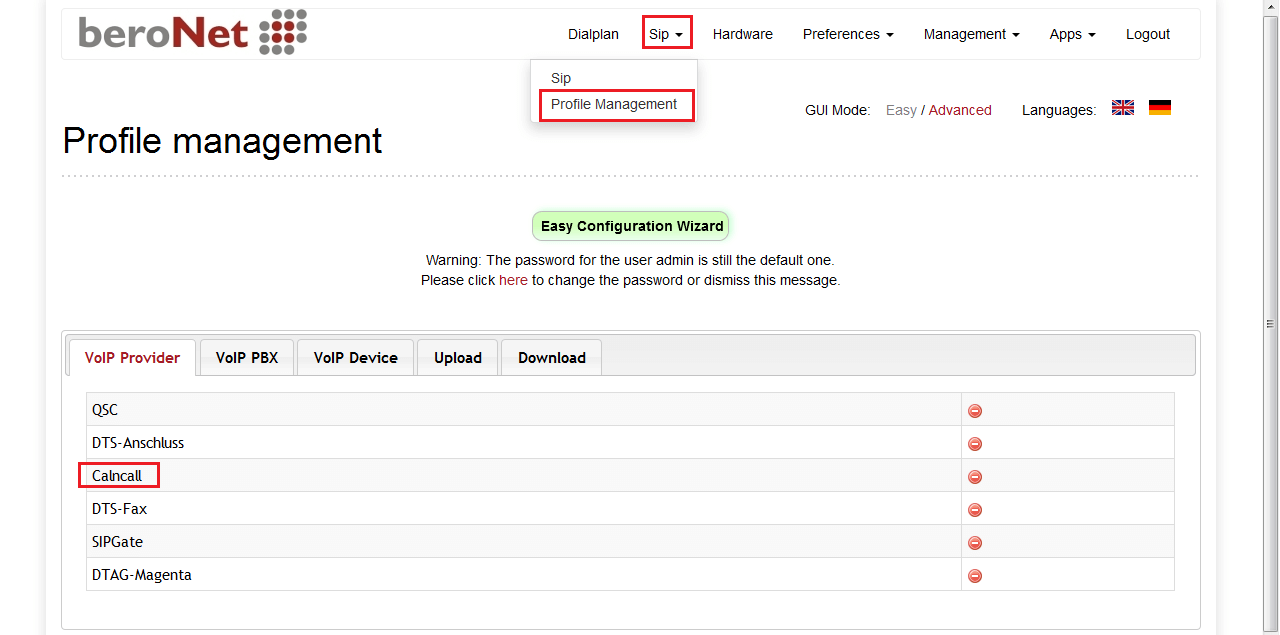
Step 6: Now you can able to see the CloudBharat SIP profile under VoIP provider as shown below.
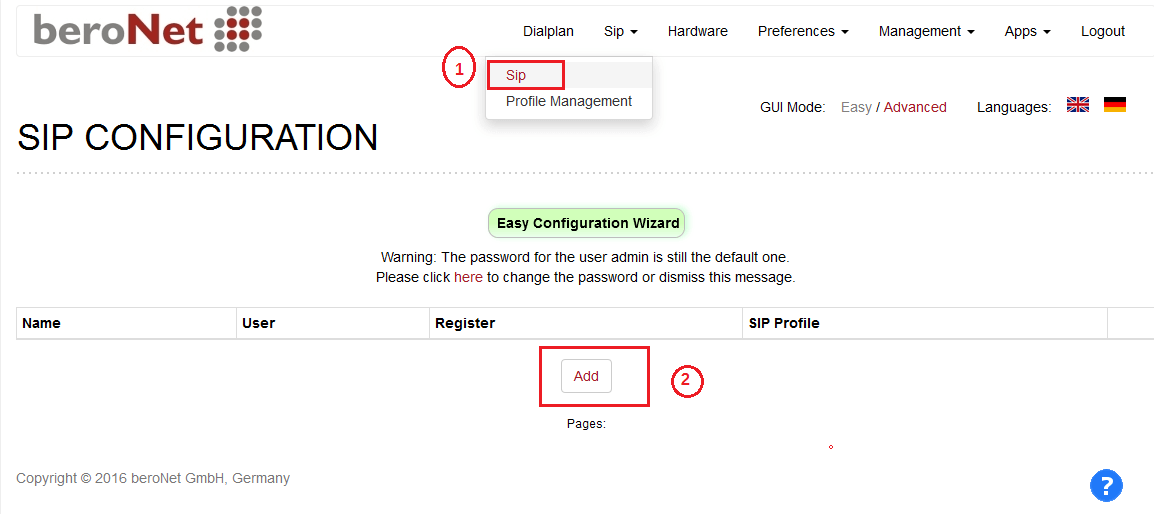
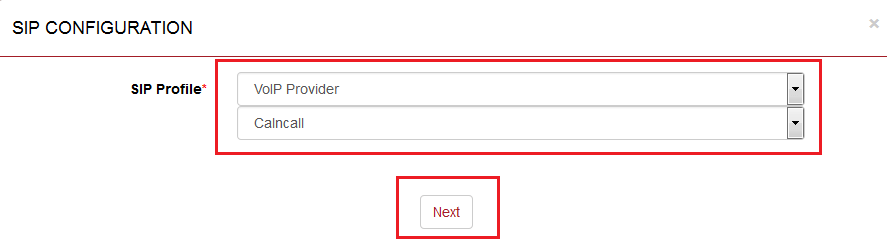
Step 7: Go to Sip –> Press Add button
Step 8: Select SIP profile –> VoIP Provider –> CloudBharat –> Press Next button
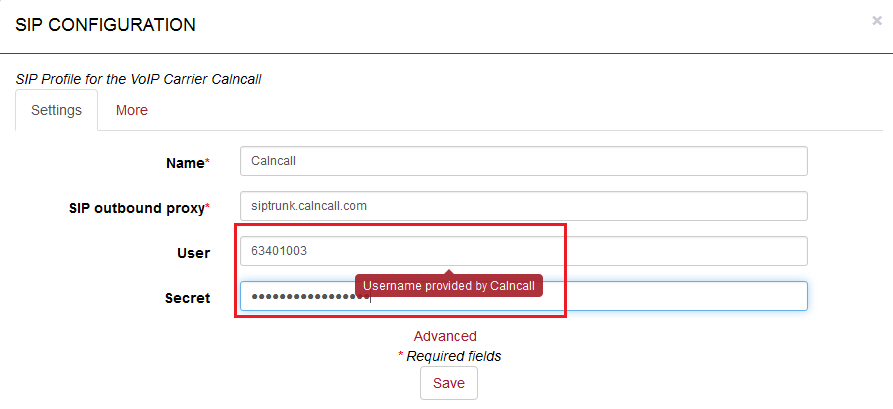
Step 9: To get CloudBharat Account Details, please contact http://www.cloudbharat.com/
Step 10:
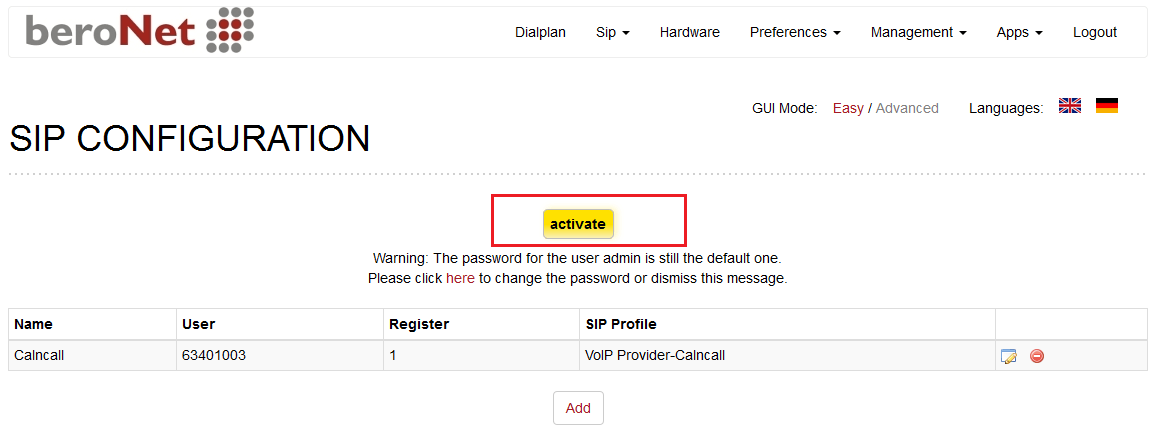
Step 11: To apply the settings click activate button.
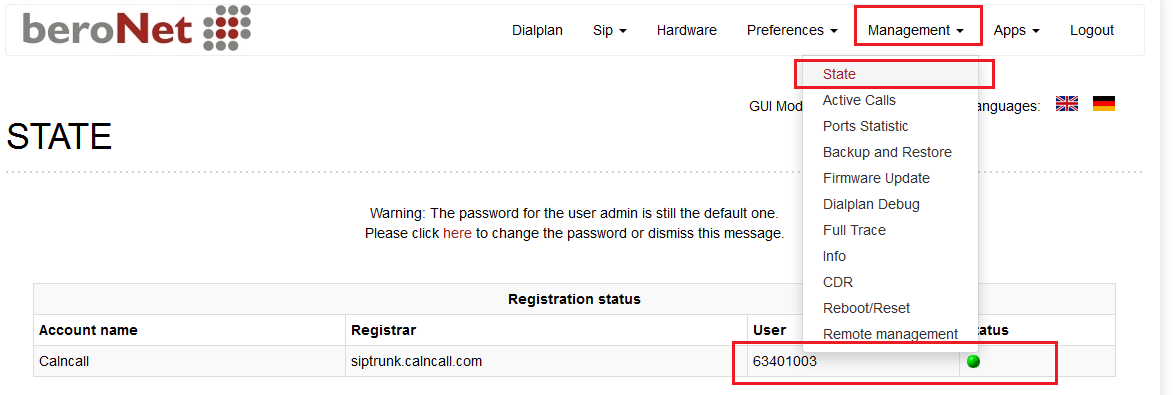
Step 12: To see the CloudBharat SIP Trunk registration status Go to Management –> State
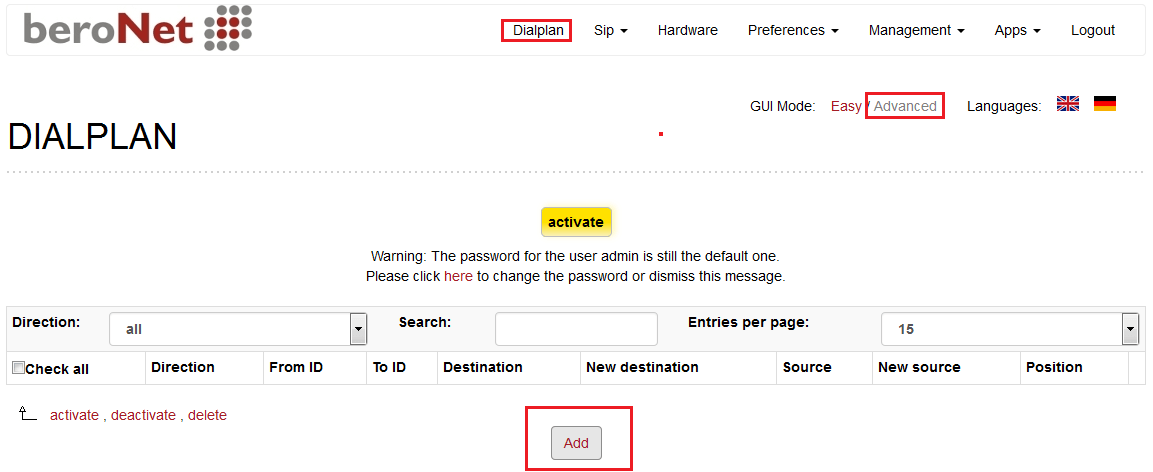
Step 13: In order to make / receive calls via CloudBharat SIP Trunk as shown below figure.
For more details about BeroNet dial plan, please visit:
http://www.beronet.com/understanding-the-beronet-dialplan/